Documentation for the hades cluster
© 2021- pim[at]hevs.ch
Documentation for the hades cluster
© 2021- pim[at]hevs.ch
This small HOWTO explains how to start using the hades cluster, if something goes wrong, don’t hesitate to contact the staff or fill a bug into the issue tracker.
Creating a virtual machine will allocate (reserve) some real resources (CPU, RAM and storage).
These reserved resources will be unavailable for the other users until the virtual machine is deleted (an instance in the shutdown state will still have it’s resources reserved).
A virtual machine model (flavor in OpenStack vocabulary) is defined by a certain amount of CPU, RAM and storage.
Storage and RAM allocation are dedicated to one virtual machine and can’t be shared. CPU allocation can be dedicated or shared depending on the type of machine needed.
There are 2 family of flavors, shared and physical.
Flavor are named after this scheme TYPE-cpu-CPU-ram-RAM-disk-DISK_G where
TYPE is the type of CPU
shared : virtual CPU, will be time-shared between users.physical : real physical dedicated CPU cores, all on the same CPU socket for VM smaller than 12 CPU.CPU is the number of CPU cores.RAM is the quantity of RAM.DISK is the storage size.Examples:
physical-cpu-24-ram-64G-disk-40G A virtual machine with 24 physical CPU cores (split on 2 CPU sockets), 64 GigaByte RAM and 40 GigaByte storage.Installing a working virtual machine can be time consuming, and deleting that machine may look counter-productive. If your virtual machine contains a re-usable setup, the staff can convert it to an image.
Once converted to an image, the machine can be deleted (freeing all used CPU and RAM resources) and created again in a few clicks.
At the time of writing, we expect all users to use the resources fairly. All users will benefit from the fair use of the others. Here are some recommendations:
| Action | Screenshot |
| Go to hades.hevs.ch and log in. | 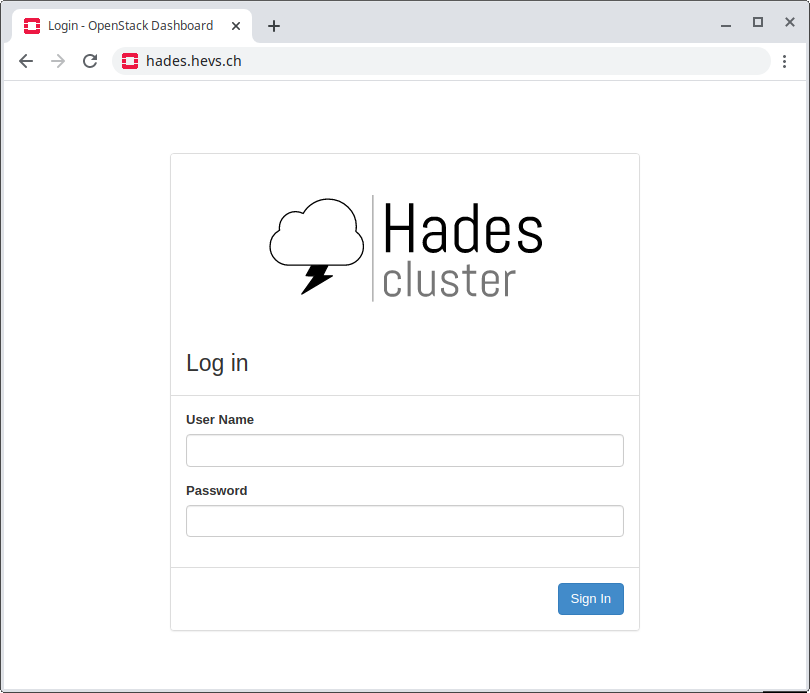 |
| Go to Compute/Images. | 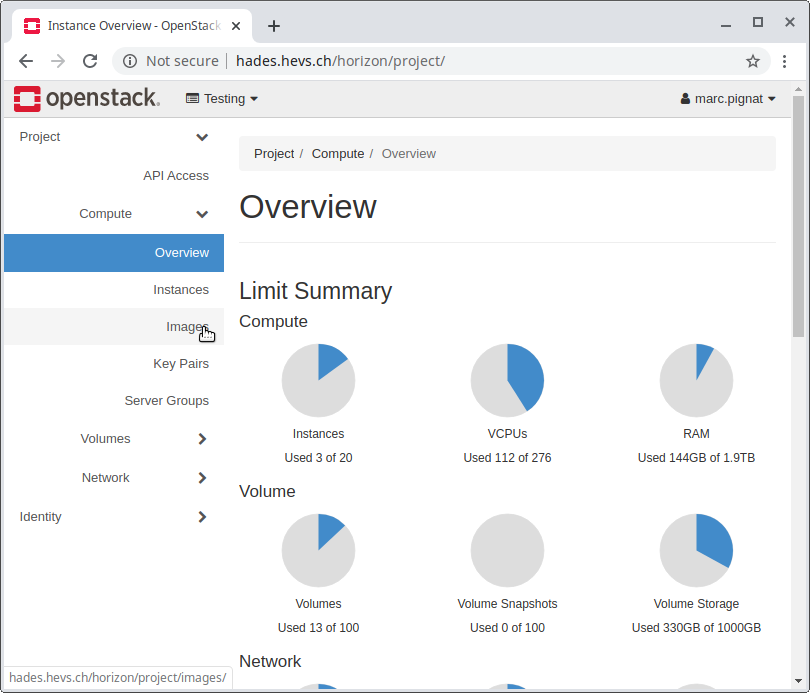 |
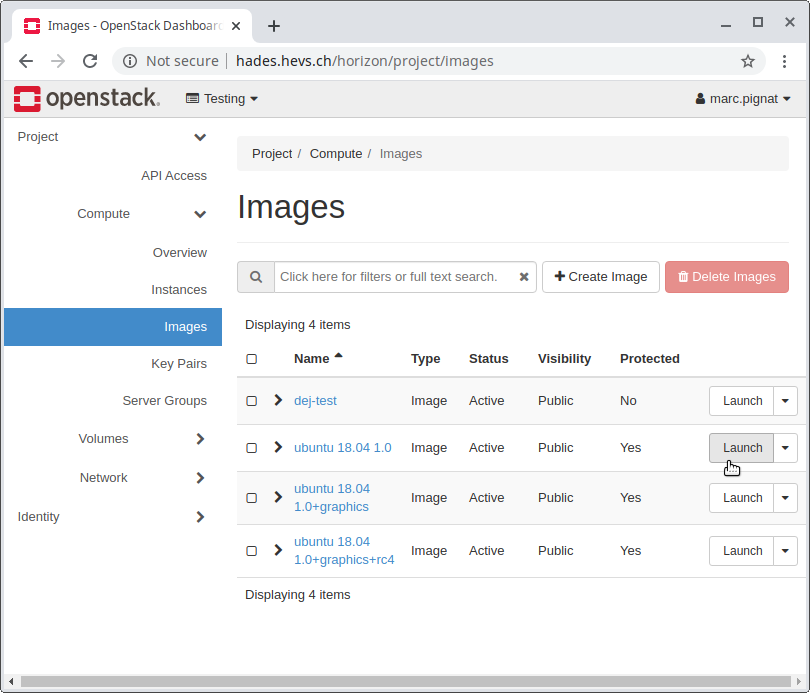
| Find the image of your choice, and click on the Launch button. “ubuntu 18.04 1.0” is the current base image configured for the cluster. Other images are created on demand. The staff can convert a virtual machine to an image. |
 |
| Enter an Instance name and click Flavor. Please use a sensible image name, maybe containing your username. |
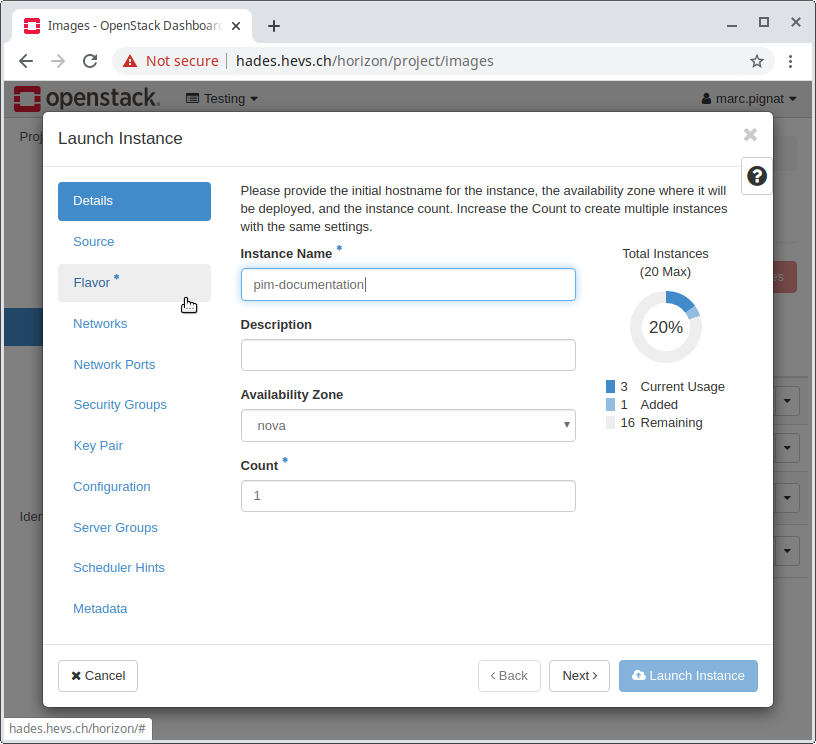 |
| Choose a flavor wisely (using the upper arrow ↑ right of the instance name). The flavors are dynamically loaded at this step and may take some time to appear. |
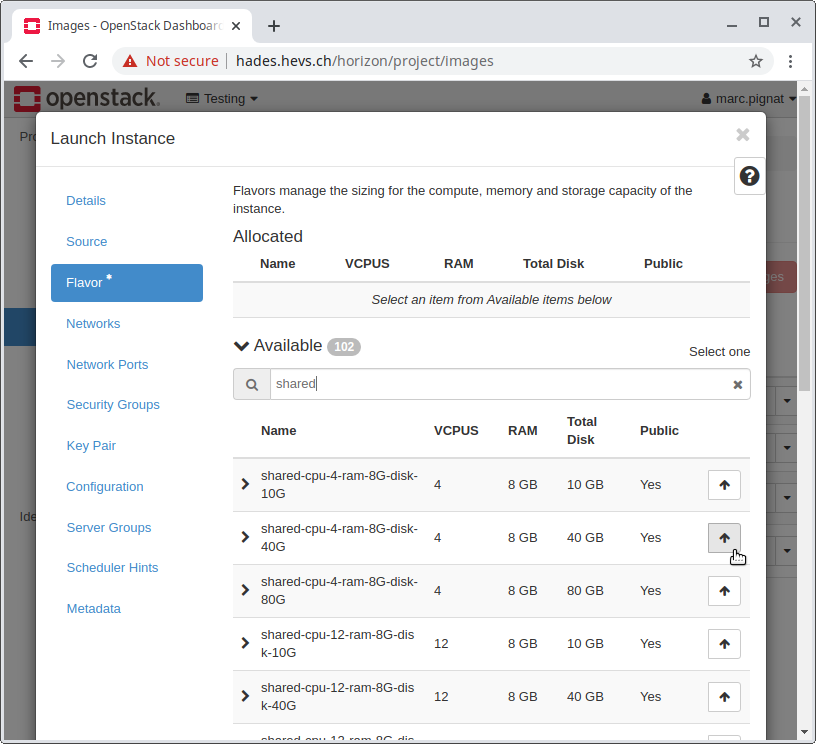 |
| Then click Lauch Instance | 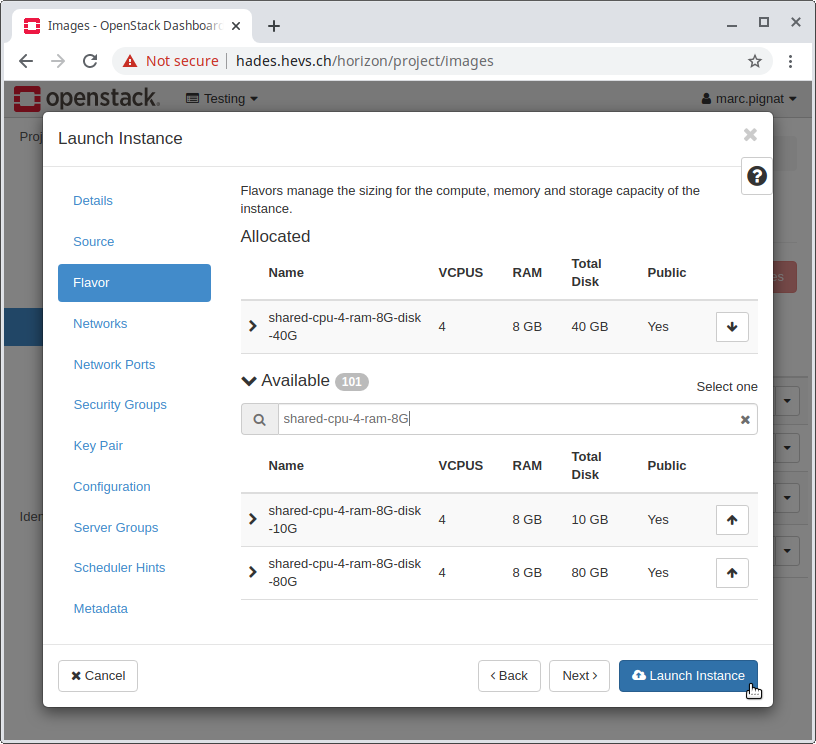 |
| Go to Comute/Instances | 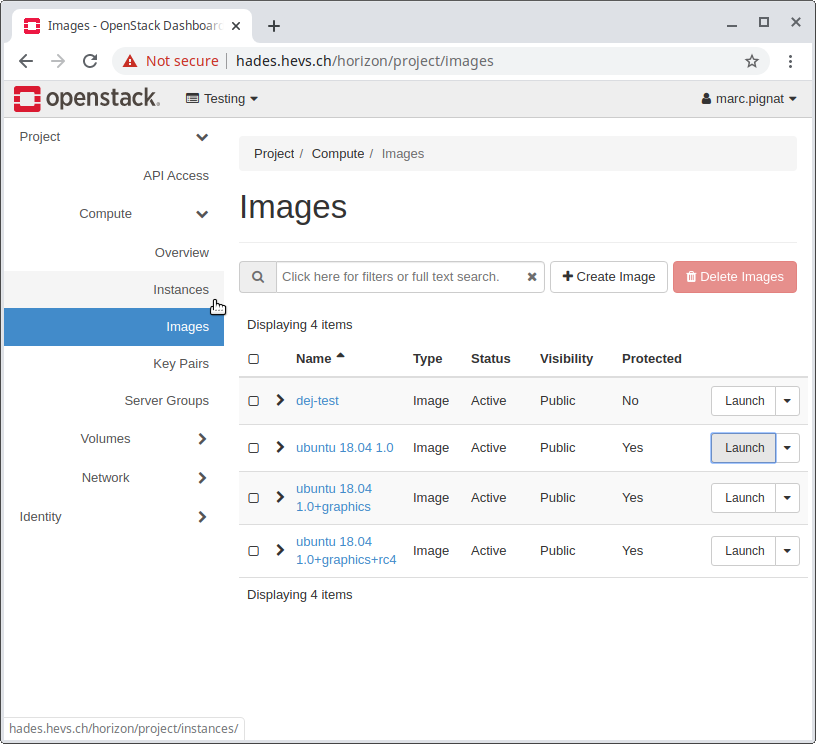 |
| The instance is created (indicated by Block device mapping in the task column). This operation may take some time, usually less than 2 minutes. |
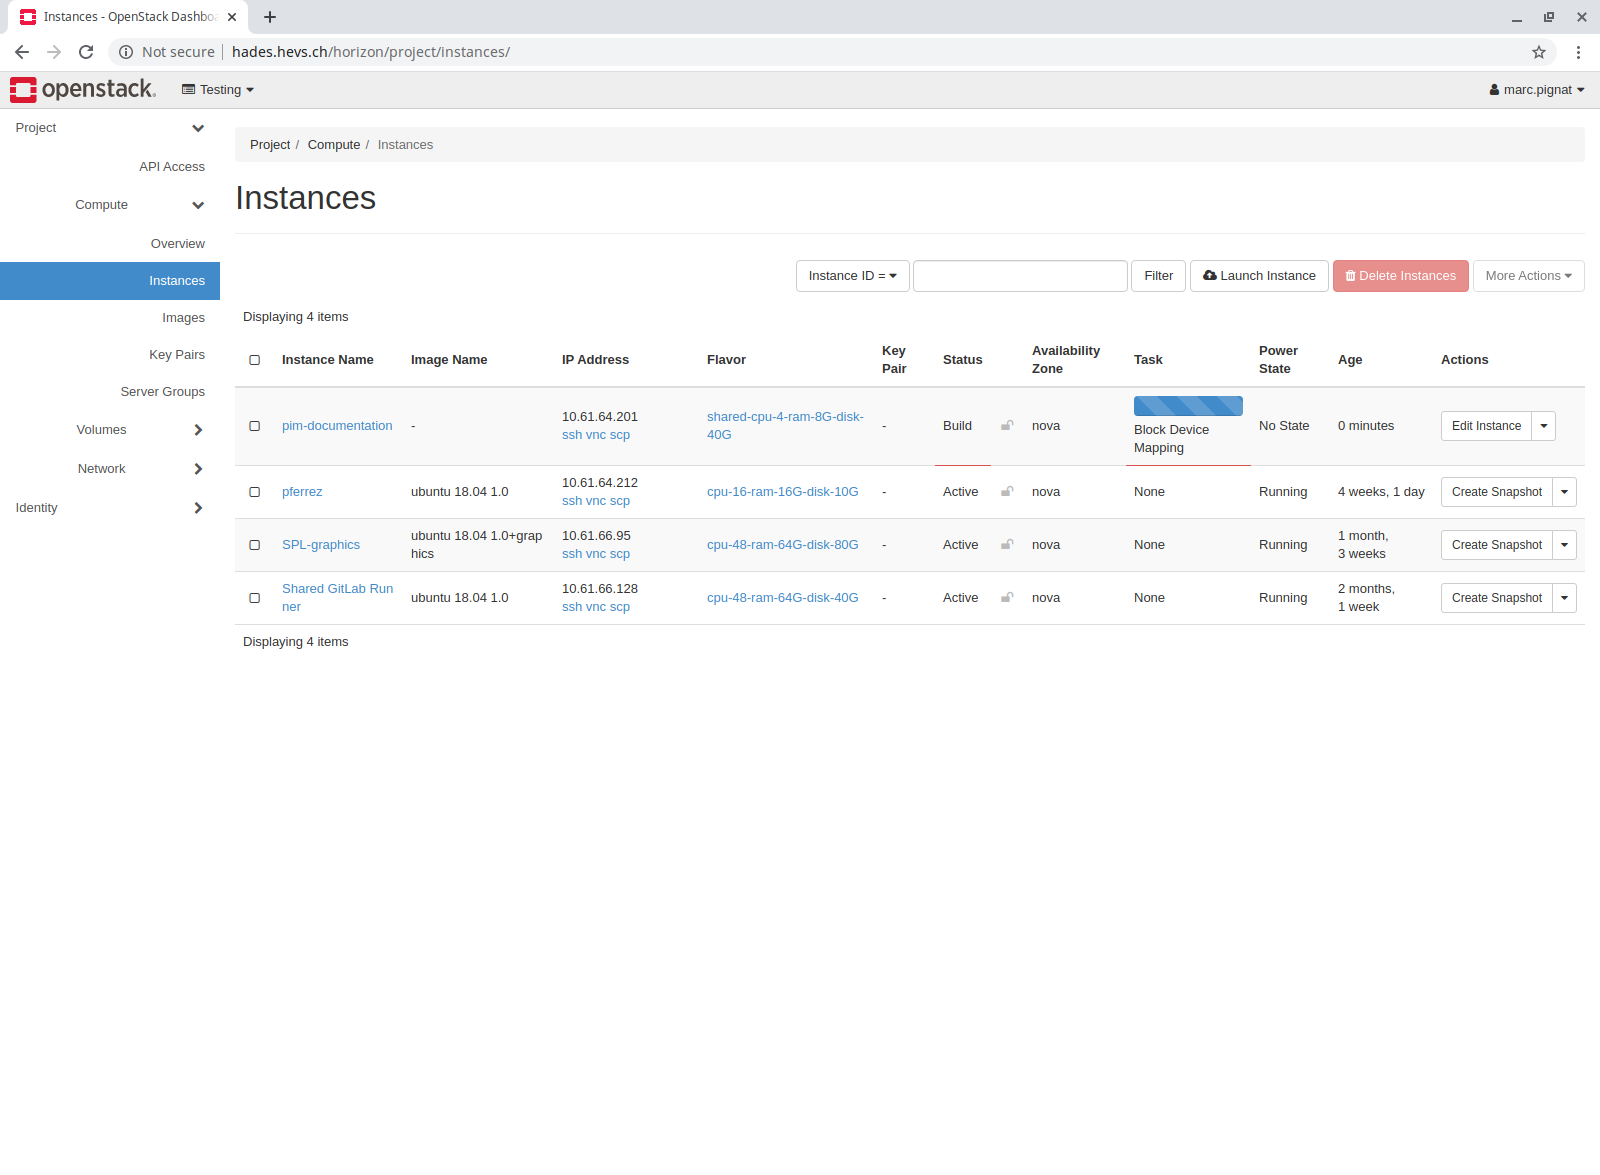 |
| The instance is ready (indicated by Running in the Power State column). You can now connect to your instance using the ssh link in the “IP Address” column, notice the hadessh:// URL on the lower left corner. The ssh connection should appear (warning you this host is unknown at this time). The default password is the same on all virtual machines, and can be asked to the staff |
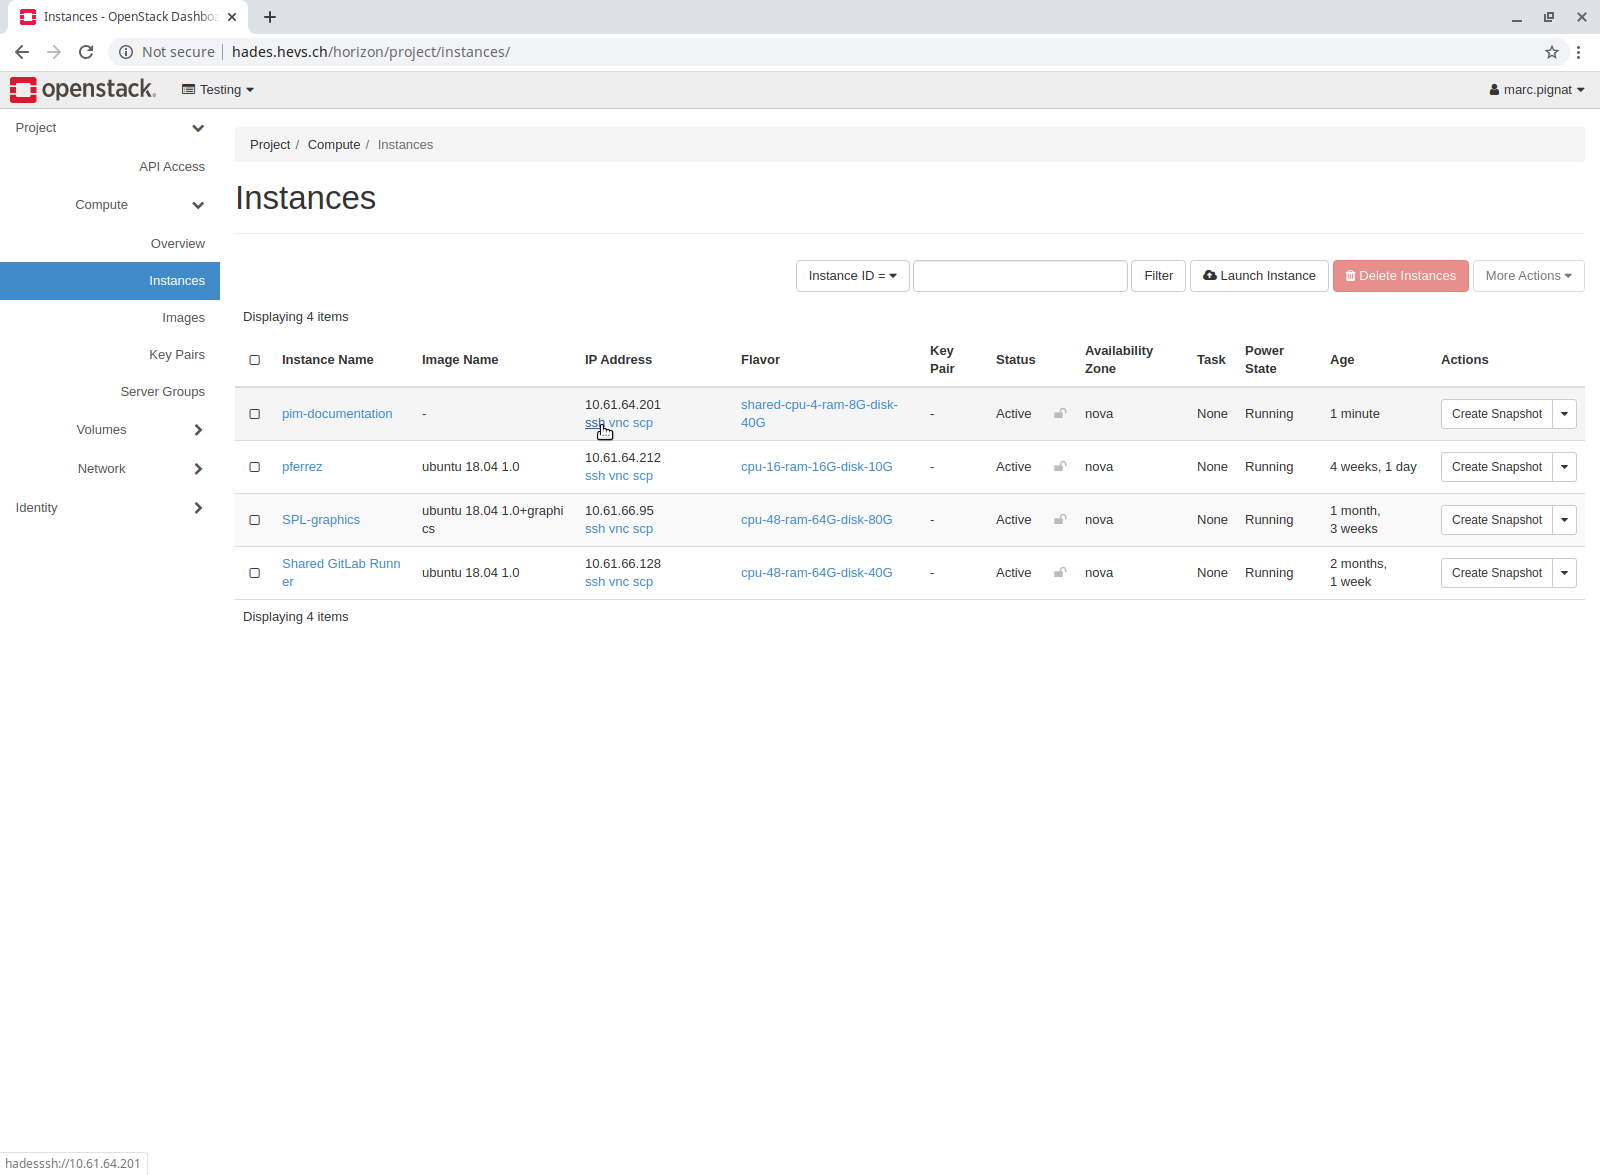 |
| When you are done using your VM, it can be removed (forever) by going to the Comute/Instances page and choosing the Delete Instance command from the drop down menu. | 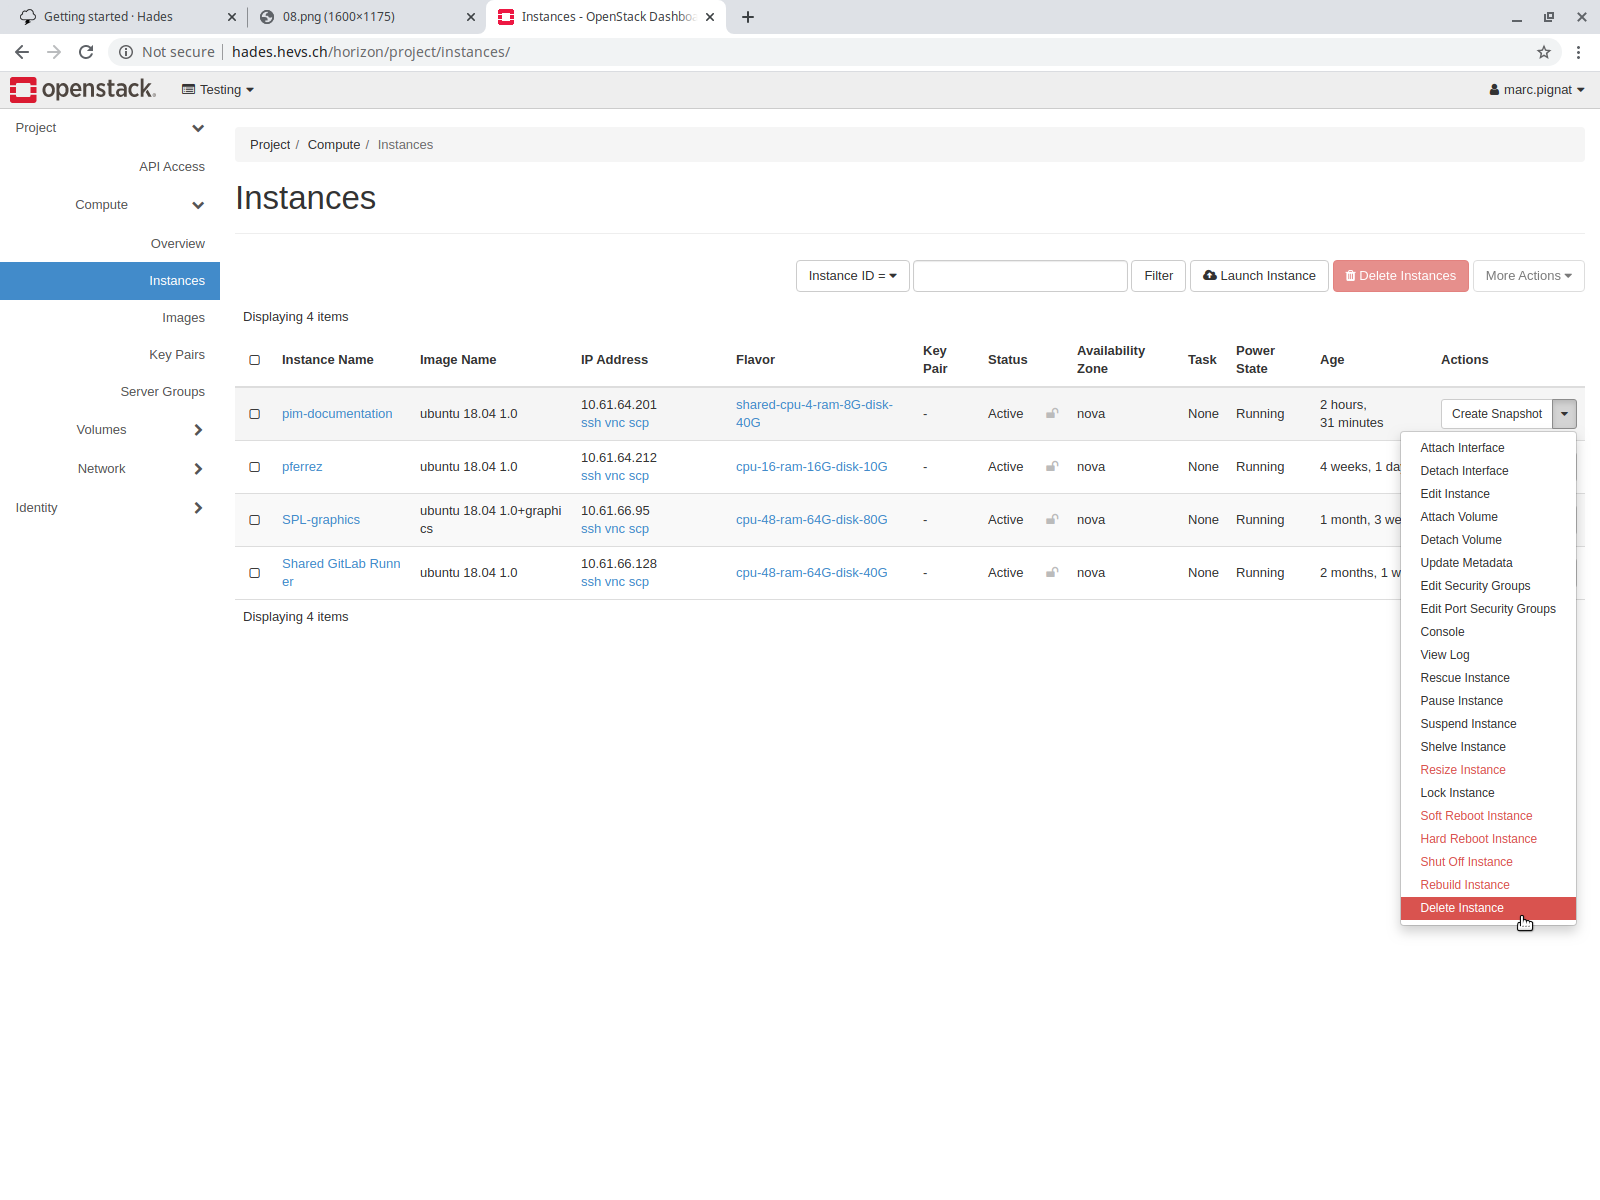 |
![]() hadesssh://VM_IP and
hadesvnc://VM_IP are handled by our tools. They
should work in your browser and on your desktop. They can be used to create
handy shortcuts to your VMs.
hadesssh://VM_IP and
hadesvnc://VM_IP are handled by our tools. They
should work in your browser and on your desktop. They can be used to create
handy shortcuts to your VMs.
On windows, the hadesscp://VM_IP URL scheme is handled by our tools. See also : file transfer in detail.